Intro
If you’re in the IT security field as a professional of hobbyist, then running host and service discovery with Nmap is probably the second series CLI of commands you learned, right behind updating and upgrading your Linux system. Well, I’ve been a practitioner and active hobbyist for almost a decade at the time of this writing, and I’m still learning new ways to utilize nmap features, which are extensible through its native Nmap Scripting Engine(NSE).
As I mentioned that it was ‘native’, Nmap comes with a large collection of scripts already baked in, many of which are built and maintained industry leading security professionals. While it’s worth exploring these further, this post will focus on one which enables us to turn nmap into a fast, easy to use, vulnerability scanner that’s both up-to-date with the latest data and capable of utilizing custom databases.
Objectives
- Use-case
- Why vulscan?
- Install nmap
- Install & configure vulscan files
- Demonstrate typical nmap scan
- Demonstrate vulnerability scan
- Closing thoughts
Use-case
As you may have read in the post about me, one of the many hats I have worn consistently over the past 10 years is that of internal IT Security Assessor and Vulnerability Management. Though there are many paid solutions which can automated much of the discovery phases of these types of efforts, a small amount of study and bash or python scripting (which I will not go into for this article) can produce a comprehensive, automated solution which utilizes many of the same databases (specifically CVE, OVAL and NVD); but at a price point which is more palatable to new businesses: Free.
Additionally and in my experience, I had found this to be an immediately scalable solution which does not require communication with outside vendors, contract modification, changes to overhead or lobbying for increased security budgets with your boss – all of which are important variables to an organization such as mine, where many geographically dispersed field offices may be mobilized or demobilized on a quarter-to-quarter basis.
Why Vulscan?
There are several NSE extensions as well as paid 3rd party services which enable the security professional to check the banners and service versions of their target(s) against a list of known vulnerabilities. In-fact, two of these (Vuln and Vulners) come included with your initial Nmap installation and are easy to use. Regardless, vulscan earns my preference for two major reasons.
First is that vulscan utilizes locally stored vulnerability databases which eliminates the need for internet or cloud access, and allows the tester to depend solely on local databases. While it will use a small amount of additional storage space, I prefer the flexibility offered by stand-alone systems.
Secondly, vulscan enables the tester to deploy custom databases, which is handy if you’re working in a niche market segment, utilize paid services or have developed and are testing vulnerabilities yourself.
Installation
If you have not previously installed Nmap or are working with a fresh machine, we’ll update and install Nmap with the following commands:
sudo apt update
sudo apt install nmap –y
Next, we’ll navigate to the scripts directory within the Nmap files, where we’ll need to create a new directory clone the files from @scipag’s github repository:
cd /usr/share/nmap/scripts
mkdir vulscan
cd vulscan
Clone the Github repository:
sudo git clone https://github.com/scipag/vulscan scipag_vulscan
ln -s `pwd`/scipag_vulscan /usr/share/nmap/scripts/vulscan
Once the installation is complete, we’ll enter the directory created while cloning the repository, and grant the updater script (update.sh) permission to execute with the chmod 744 command:
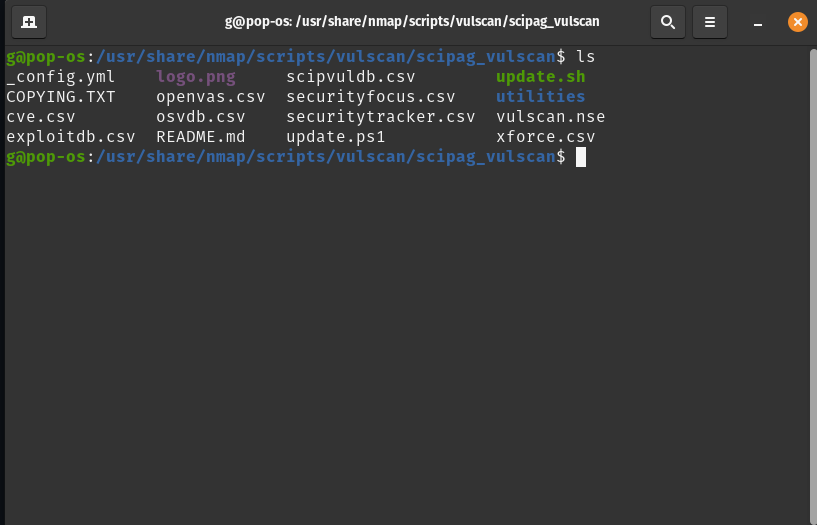
sudo chmod 744 update.shOnce complete, type “ls” in your terminal and hit enter. You’ll notice that update.sh is now highlighted (green in my case), meaning that it has permission to execute under your command. As you’ll see in the screen shot of my terminal, there are a series of .csv files: cve.csv, exploitdb.csv and openvas.csv to name a few. These are your vulnerability databases, stored locally as promised.
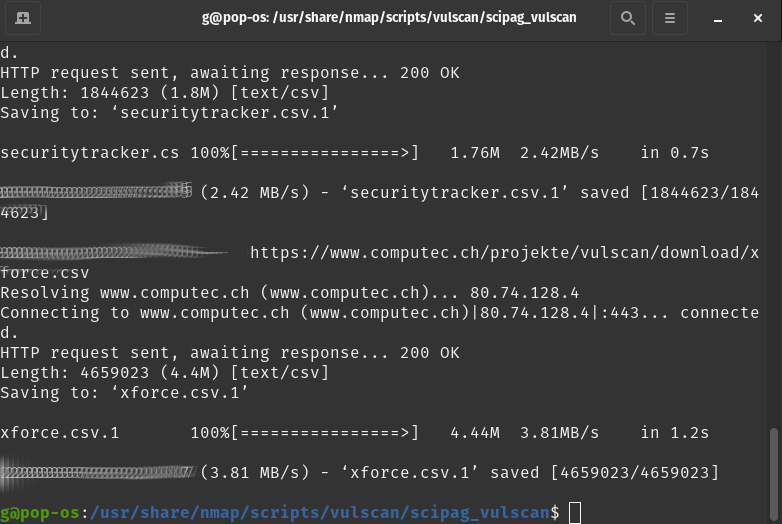
As new vulnerabilities are discovered and documented, the groups maintaining these will update the databases. However, you will have to run the update script prior to use to ensure that you have the latest disclosed vulnerabilities. This is done with the following:
sudo ./update.shYou’ll see a lot of scrolling and progress bars for about 5s (in my case), then you should be brought back to a ready terminal, which looks something like the below image:
With this, you should be ready to start. We’ll go ahead and enter “cd -e“ into our terminal start comparing regular Nmap scans to that of vulscan.
Typical Nmap Scan
As mentioned in this post’s intro, most of you are already familiar with Nmap scans and uses, so I’ll avoid going into depth on this here. However, for those of you who are newer, the Nmap scan will help us gain a lot of information on devices connected to a specified network.
Lets assume that we’ve already scanned the entire network and have found a specific host that we’d like to scan for vulnerabilities. I’ve chosen a Windows computer at 192.168.1.10.
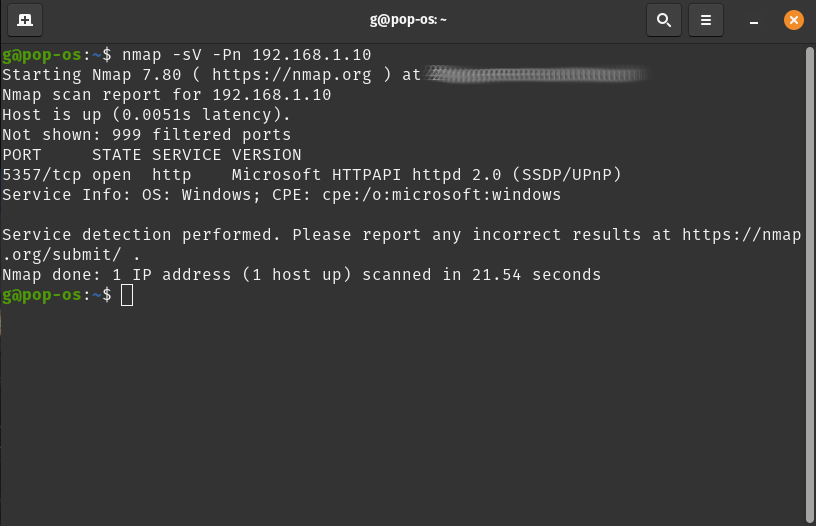
This was a pretty simple scan so there is not a ton of information returned by nmap here. While this will work for demonstration purposes, I would not be happy with the results of this scan for most penetration testing purposes. However, the scan does identify the host, operating system and one service running through the –sV flag.
Nmap + Vulscan
Next, we’ll run a vulnerability scan with nmap through the vulscan NSE. As shown in the installation section above, it is a good practice to run the update.sh file within the scipag_vulscan directory a few hours prior to your scan.
Before we start, it should be noted that vulscan requires the –sV flag (service version) in nmap , the output of which is used to determine potential vulnerabilities with the databases we just updated. In other words, the greater the number of services you discover during the initial nmap scan, the higher the chances of finding a vulnerability.
Lets go ahead and start our scan. I will enter the following, but yours may vary:
nmap -sV -Pn --script=vulscan/scipag_vulscan/vulscan.nse 192.168.1.10This returned the following results:
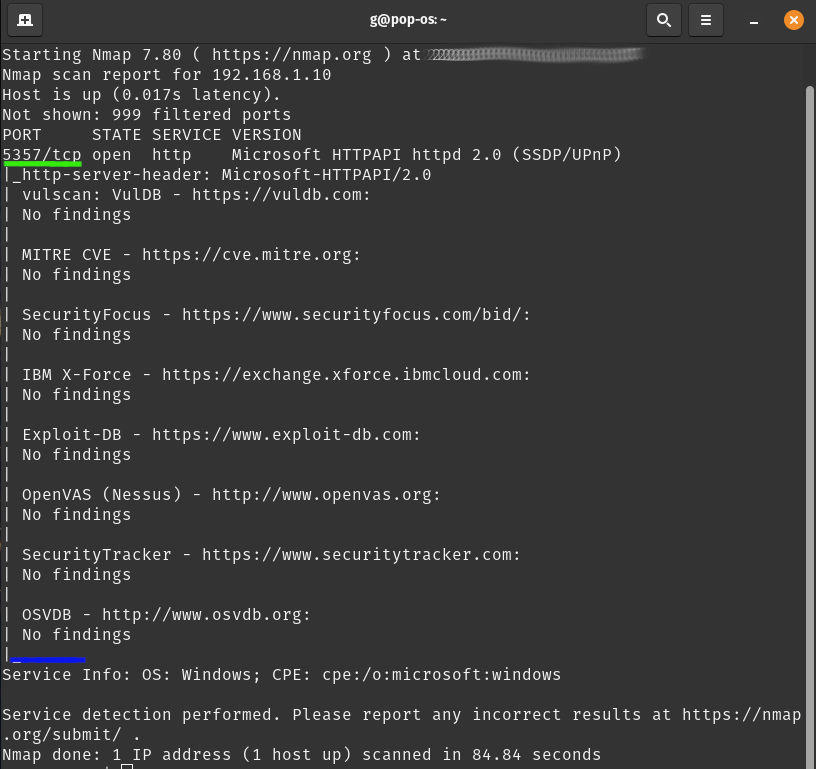
As you can see in the image above, nmap working through the –sV flag had discovered the same service from our nmap scan, running on port 5357/tcp (underlined in green). This information was then run through vulscan.nse (via –script=vulscan/scipag_vulscan/vulscan,nse) where it checked 8 different databases (shown between the green and blue lines) for known vulnerabilities with the service discovered.
Lucky for us, this there were “No Findings” with this specific service, but this was an fully updated Windows 11 machine with special security configurations. We might have had more luck if we choose to scan some of the machines on vulnhub or even an up-to-date version of the same OS with more services running.
Closing Thoughts
I hope that I’ve had the honor of introducing you to this tool for the first time, as it was a game changer for me in my professional, penetration testing and student roles and projects. Although it’s simple enough to use on a single target, I would definitely recommend playing around with vulscan and scripting out it’s use, as it this will be your first step toward automating vulnerability scans for devices connected to your network(s). In a future post, I will provide a sample overview of an automated vulnerability scan work-flow with script samples and chrontab modifications.
